
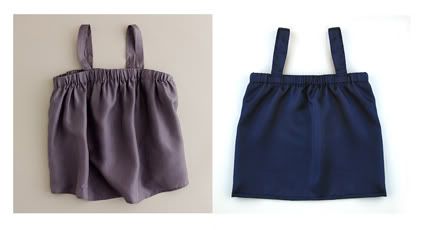
 Here it is; the latest installment in the J Crew (crew cuts) knock off series. The silk swing tank: retail $39.50.....our price...$2. The sacrifice here is that our version is not silk habotai. Sorry...Joann's did not carry that, what a surprise!! I purchased a silk look alike fabric which was easy to sew but did fray quite a bit. So, here is my super easy version of their tank. I'm sure there is a more proper way to sew this that takes twice as long, but my version is just the easier way. And I am finding these days that if I want to get more things done, I am having to take the easier route.
supplies needed
fabric- 1/2 yd or less
fabric- 1/2 yd or less
coordinating thread
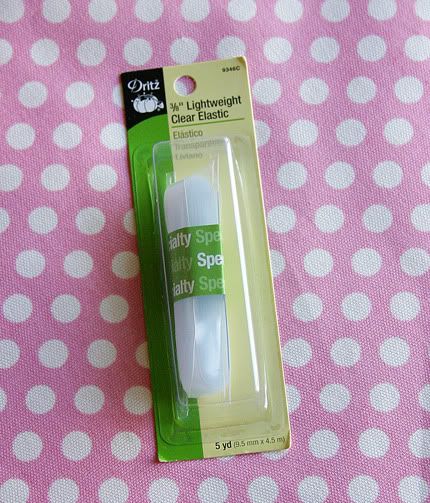
3/4 in. wide elastic (enough to fit around chest)
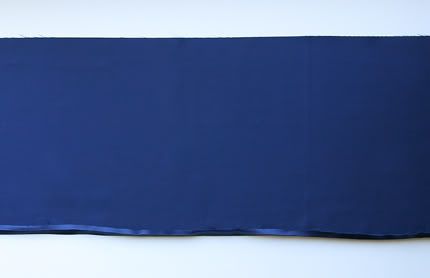 first cut your fabric (using measurements below)
 step one: obtain chest measurement by measuring underneath arms all the way around chest. Then add 10-12 inches for 3T and under. Add 14-15 inches for 4T and up. Since my 3T daughter measured 20 inches, I cut a 32 in wide strip of fabric.
step two: Measure how long you want the top, then add 1 1/2 inches. This will be your length. I wanted mine 10 in. long, so I cut my fabric 11 1/2 in. long by 32 in. wide.

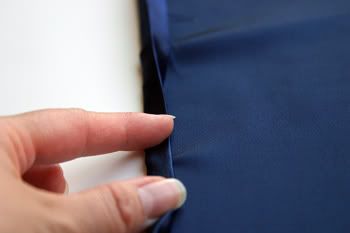
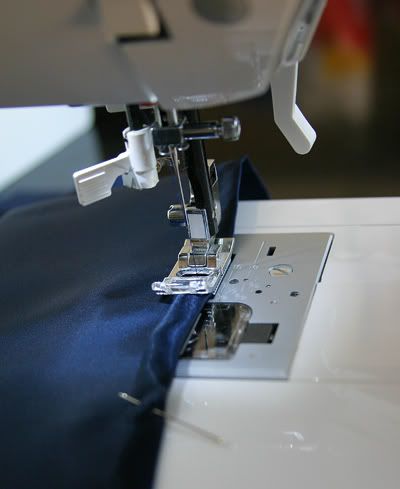 Sew your seam staying fairly close to the edge.
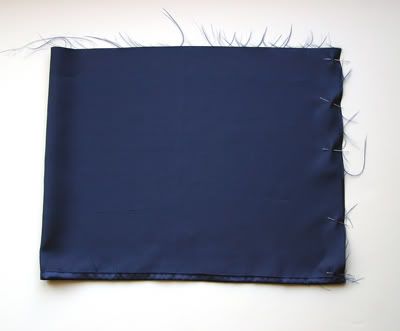 Once your seam is finished fold the fabric with right sides together. Pin the open side. Sew your side seam about 1/4 in. from edge.
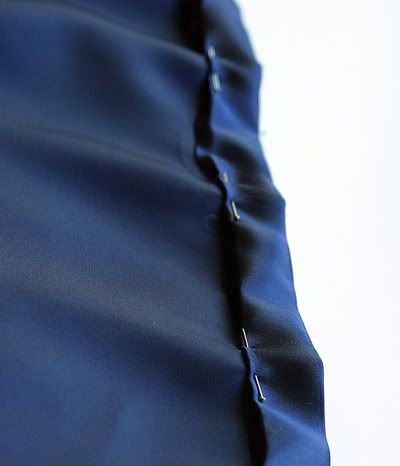 Next, make your elastic casing by folding the top down 1 inch. Press. Fold raw edge under 1/4 in. Press and pin. Same way that we did in the skirt. Sew closed (leaving 2 inch opening to feed the elastic though). Feed elastic through (same measurement as chest minus 1/2 inch.) Sew elastic. Then sew casing closed.
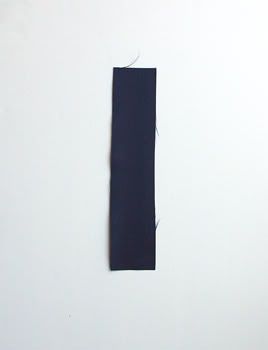 Now on to the straps. Measure how long you want your straps to be. Add 1 in. seam allowance. Cut 2 1/2 in. wide. Cut two of these.
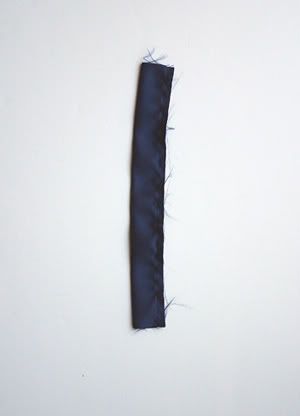 Fold right sides together and, with wrong side facing you sew with 1/4 in seam allowance. Flip them inside out when you are done and press.
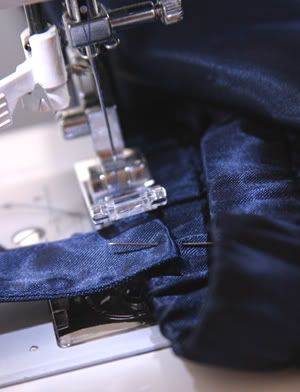
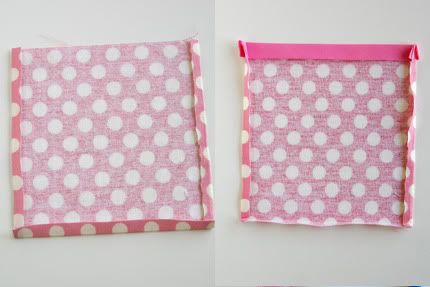
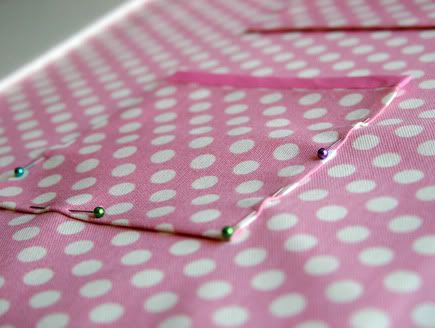
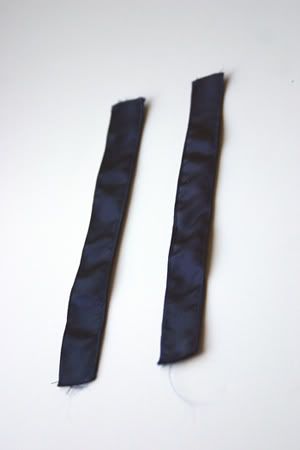 Topstitch the edges of both of your straps. Fold under 1/2 inch on each side and press. Pin this to the inside of the top as shown and sew.
 Now you are finished. Turn rightside out. Press. And enjoy!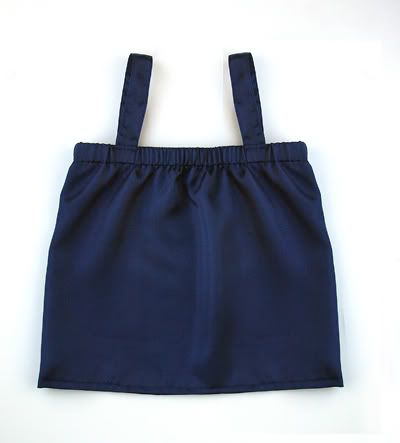


 Posts
Posts

