
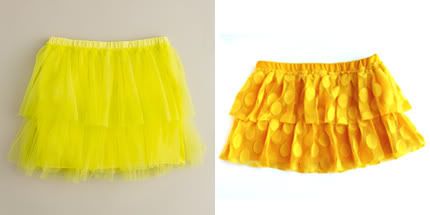
 Here is the second item in the outfit we are recreating from J Crew's crew cuts for kids. This tulle skirt is so adorable and super simple to make. This project from start to finish takes about 30-60 minutes and costs under $5 (compare to the 32.50 retail).
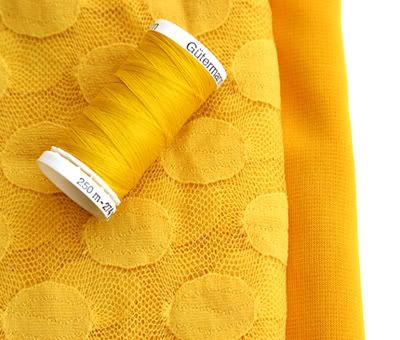 Gather your supplies. Here is what you'll need:
1/2 in. wide elastic- 20-26 in. depending on waist size
knit fabric for the underskirt- 3/8 yd. (I used some kind of knit that didn't stretch much in the knit section at Joann's. You could also repurpose a knit tee of your own)
tulle fabric for the ruffles- 3/8 yd. (I found this cute stretchy dot tulle in the clearance at Joann's - always check there first for fabric up to 75% off)
coordinating thread
coordinating thread
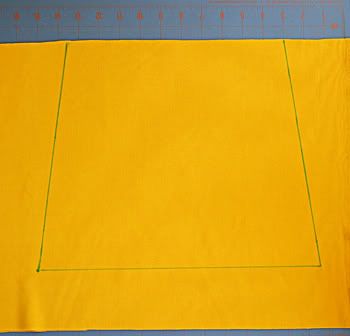 Let's get started! First make sure your fabric is folded over so that you can cut 2 pieces. You will measure the child's waist and add 5-6 inches.
 measurement 1
So for a 20 inch waist you will do 26 inches. Divide that number in half. Then add 1 inch (seam allowance). So I will have 13 + 1 = 14 in. That is my measurement for the top (measurement 1). Draw a straight line at the top of the fabric in the amount of this measurement. So my example would be 14 in.
measurement 2
The lenght of the skirt + 1 inch is measurement 2. (I wanted my skirt 10 inches, so I just added 1 inch. ) My measurement 2 example would be 11 inches.
2.) Start at the top center of your skirt and go down as many inches as is your measurement 2. So for mine I went down 11 inches. Then make a mark. Put a ruler down and mark this line for the bottom of your skirt. You will go out 1 1/2 inches further than the top measurement on each side. Please refer to the picture above. This will make your skirt flare a bit. To connect the lines, just use your ruler to connect the top and bottom lines.
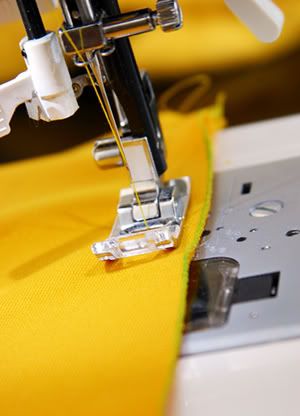 Now you are ready to cut your fabric out. Remember that your fabric should be folded, so you will be cutting two skirt pieces. Now with wrong sides of fabric together, sew your side seams using 1/2 inch seam allowance. Now press your seams, serge or snip 1/8 away from seam.
 With skirt still inside out, fold the top of skirt down 1 inch (all the way around) and press as you go. Now open up and fold 1/4 inch down and press under. (See pic below) Pin and sew close to edge.
 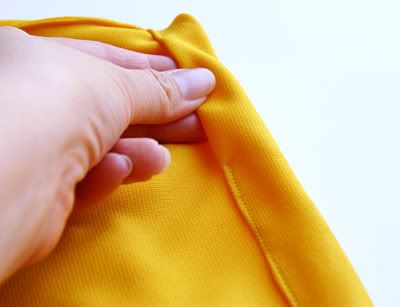 Make sure you leave a 2 inch opening for the elastic. Cut a strip of elastic the same size as your waist measurement. Slide the elastic in using a safety pin.
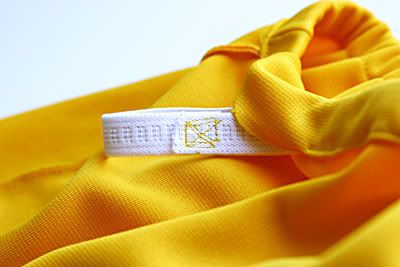 Now sew the elastic closed. Overlap about 1/2 inch and sew. I like to sew in the shape of a square and then criss cross. Put the elastic in and adjust. Now sew the opening closed and turn right side out.
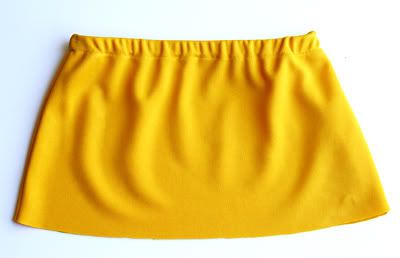 You should end up with something that looks like this. Oh and since we're using knits there is no need to finish off the bottom. Yay!
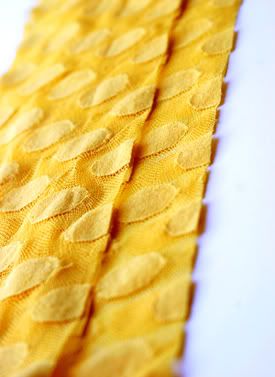 Next, cut your two strips of tulle whatever length you like. I did mine 5 inches each. The width will be the width of the fabric (so about 44 or 46 inches). Sew the sides together. Gather about 3/8 inches from the top.
 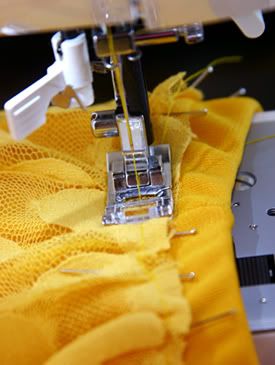 Pin to the skirt as shown above and sew your first ruffle. Sew your second ruffle under the first so that they overlap a bit. Then pull it off the machine and admire your handiwork! Sit back and eat some well deserved chocolate.
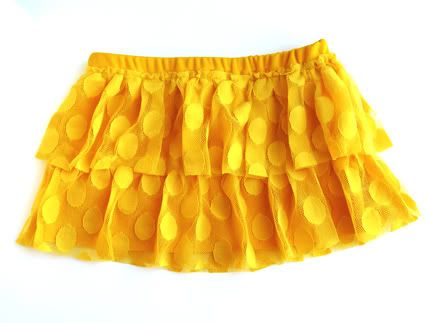 Voila! The finished product.







 What are your weekend plans?


 Posts
Posts

