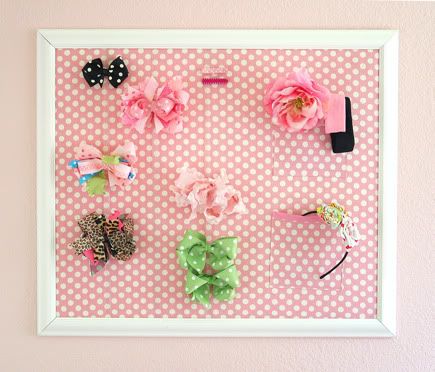
My girls hair accessories were getting out of control. So I made this organizer today to keep it all organized. It is super simple and the pockets are great for keeping headbands and rubberbands.
To make the hair pretty organizer you will need the following supplies:
1-large photo frame (shown here 20x24 frame)
1-piece of fabric (mine is 24x44)
1-foam core board
1 pkg. extra wide double fold bias tape
1 piece of lightweight batting (the same size as your frame + 2 in. on either side)
1 pkg. 3/8 in. lightweight clear elastic (you may substitute ribbon or ric-rac
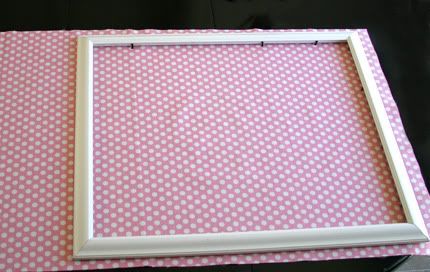
Step 1: Spread your ironed fabric under the frame. Cut, making sure to leave 2 inches on either side of the fabric for tucking in.
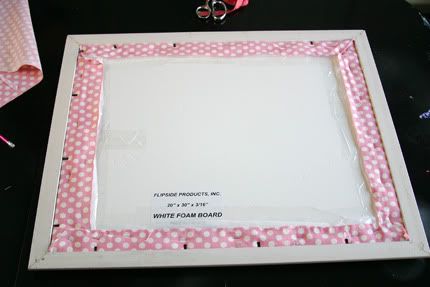
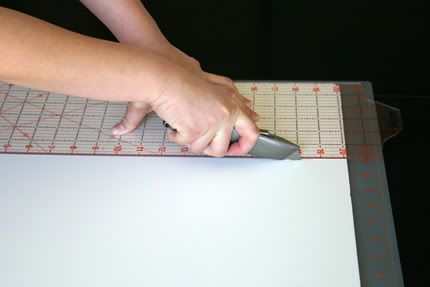 Step 2: Measure your poster board so it fits snugly inside your frame. Cut with exacto knife or scissors. Be Careful!!!
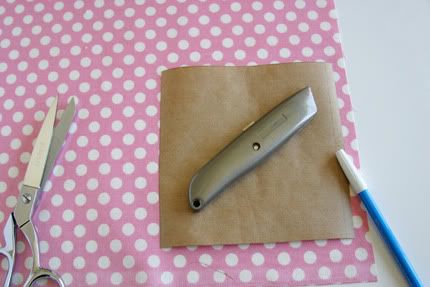 Step 3- Make a pocket template. On a separate piece of fabric, trace around and cut two. Make sure you have added 1/4 in. seam allowance to the sides and bottom. (If you do not want to include pockets, skip this step.)
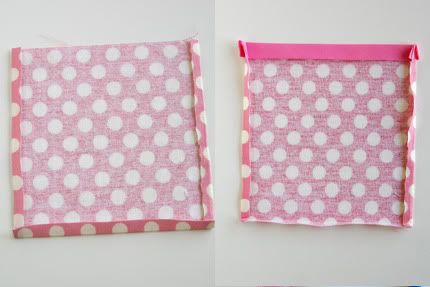 Step 4- Turn to wrong side of fabric. Iron the sides, then bottom under 1/4 inch. Then open up and add your bias tape to the top. Make sure the shorter side is on the right side of fabric. Iron the sides again.
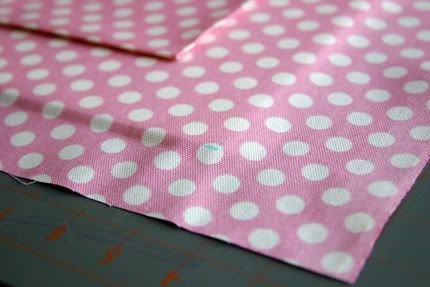 Step 5- Place your fabric (right side up) on the foam core board. Get the placement how you would like, then mark the corners.
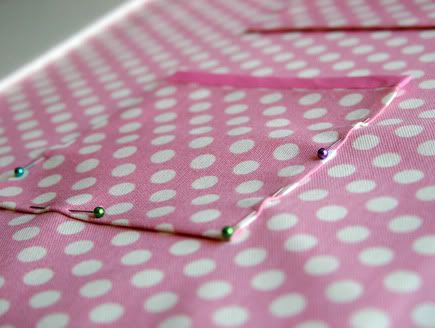 Step 6- Place the pockets where you would like them, then pin. Now sew the pockets on.
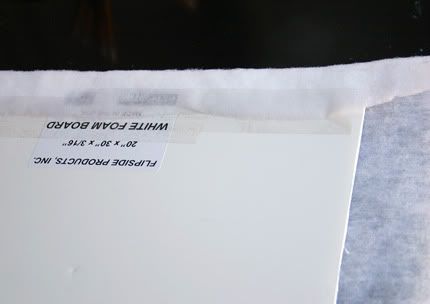 Step 7- Take your piece of batting and tape it to the foam core board. I used packing tape.
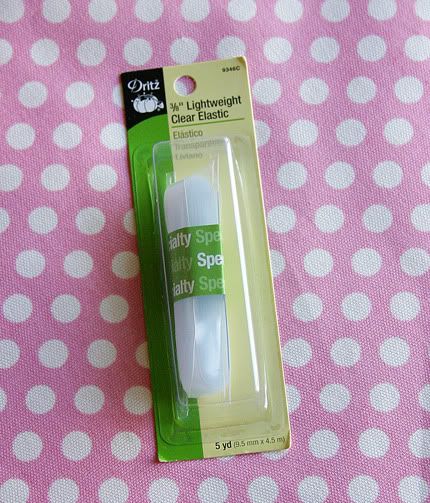 Step 8- Get your clear elastic and place it onto your fabric how you would like it. (I used three strands to make sure I had enough room for large bows.)
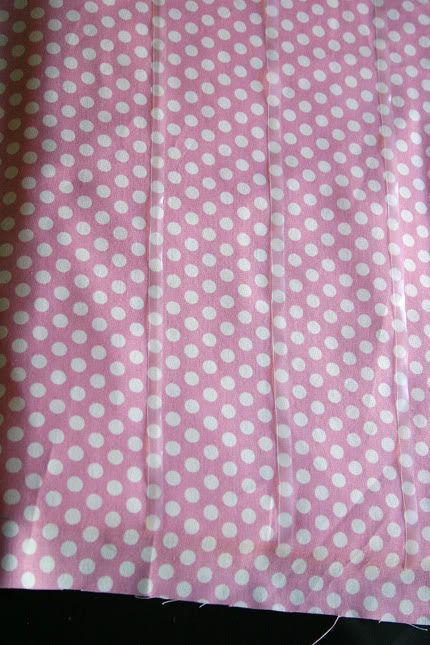 Step 9- Mark the ends and sew according to the package directions. Make sure you are doing this far enough out of the framing area so it doesn't show. (I found the elastic to be hard to sew but I like the clear look of it not competing with my pattern. If you use elastic, make sure to stretch it a bit.)
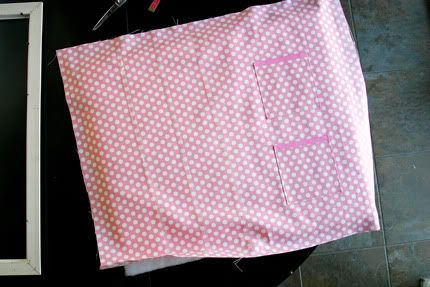 Step 10- Once you have it sewn, grab your fabric and arrange it to line up against the foam board with the markings you made previously. Pull taught and staple to the back. (I also hot-glued to reinforce.) Q32SJQFVEY9W



Oh, this is just perfect! At my house we suffer from accessory overload. I buy (or make) matching sunglasses, shoes, purses, jewelry, and hair ribbons and bows. It gets crazy! Thank you for sharing this, I'm going to have to make one for my princess! :)
April 16, 2010 at 12:11 PM
Ha,ha -I know about accessory overload. Glad I could be of help.
April 16, 2010 at 9:17 PM
Great tutorial! I've linked this to my blog. Thanks for sharing!
April 18, 2010 at 5:11 PM
This hair accessory holder is beautiful! I love how you used clear elastic and the pockets...perfect! I'm featuring it on my sidebar...thanks!
Lynette
getyourcrafton.blogspot.com
April 23, 2010 at 4:17 AM
Hello!
I work with Kristin on the Sew,Mama,Sew! blog (http://www.sewmamasew.com/blog2). Each November we post a series of tutorials, gift suggestions, recipes, shop features and giveaways every day. Our 4th Annual Handmade Holidays series consists of a great assortment of ideas to make the holidays unique, fun and handmade.
We'd like to use one picture from this great tutorial next month!
We'll link to your site and give you all of the credit, of course! Would this be OK? We respect the copyright of all crafters so all links and photos from blogs on our Handmade Holidays posts are used with permission. If you'd like to learn more about Handmade Holidays please see this compilation post from 2009: http://sewmamasew.com/blog2/?p=3808.
Please let me know via email (irene@sewmamasew.com), and also feel free to include any relevant information you'd like me to post with the tutorial link.
We look forward to hearing from you,
~ Irene
October 13, 2010 at 12:22 AM
I love this! I just made one for my daughter. It turned out so great! Thanks for the tutorial!
May 2, 2011 at 7:50 PM
Molto grazioso, complimenti
Ciao da Tiziana
June 22, 2012 at 2:28 AM