 We made yummy yummy cupcakes yesterday. Luci helped. She's my little foodie. I loved how she would intermittently sniff the batter and say Mmmmmmm. And of course there was a costume change halfway through.
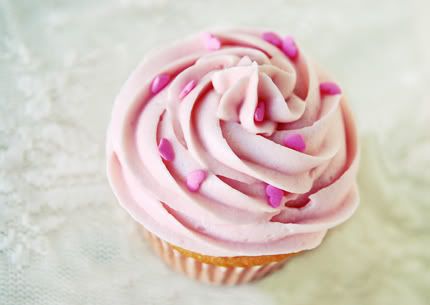 The final product loaded with vanilla buttercream frosting...YUM! Enjoy this virtual cupcake from me to you. Happy Friday!!!
PS. If you want to make the buttercream frosting yourself, here's the receipe: 1- 2lb bag of powdered sugar, 2 pinches of salt, 1 1/2 sticks of butter (softened), 1/2 cup milk, 2-3 tsp of vanilla. Blend it all together (it's easier if you only add 1/2 the bag of sugar, then gradually add the 2nd half as you are blending it). If it's way to thick add a bit more milk, but not too much or the frosting will start to droop or slide off.


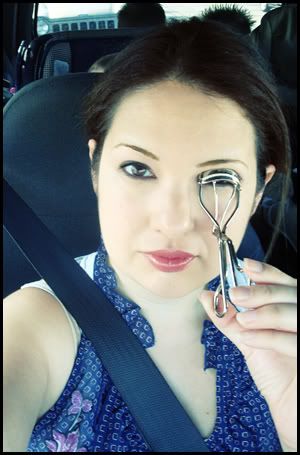

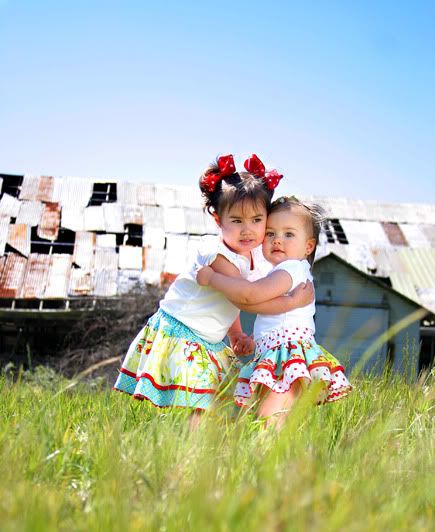
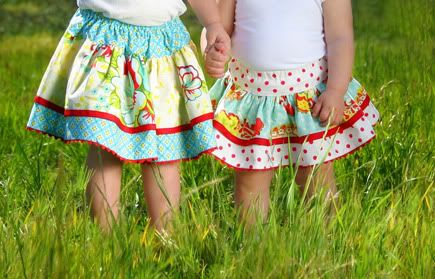

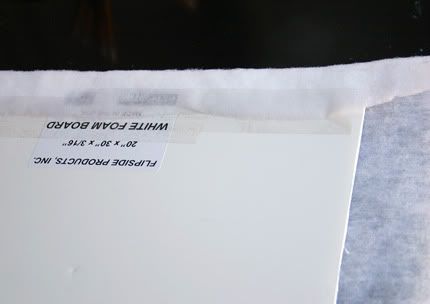
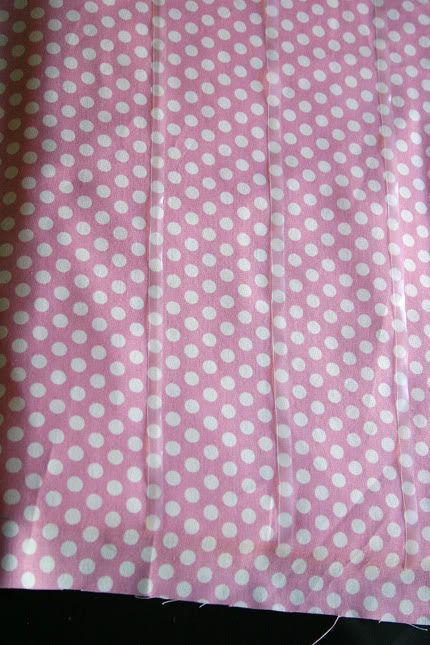
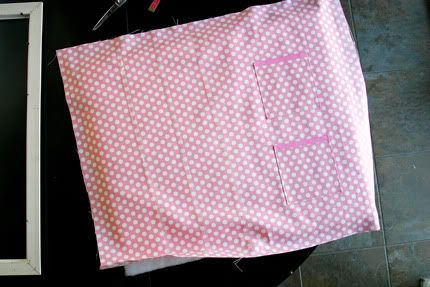

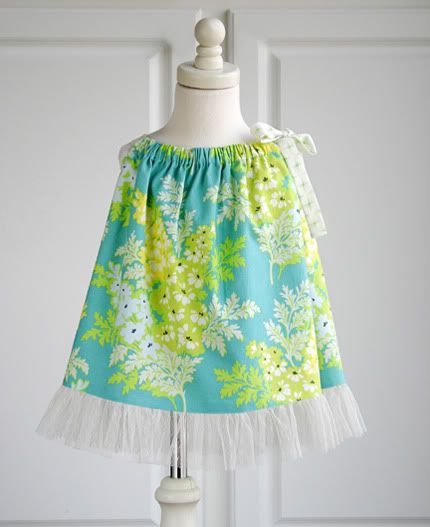
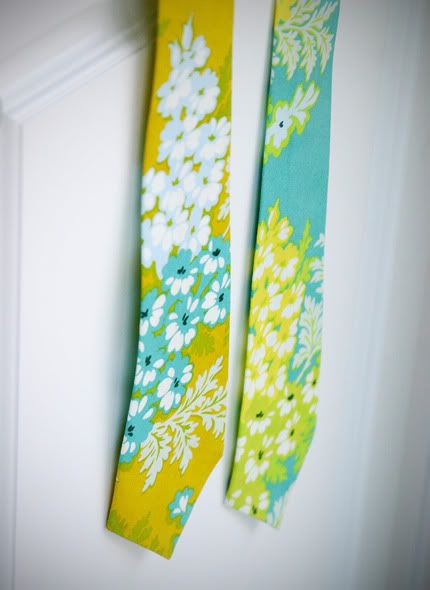
 this
this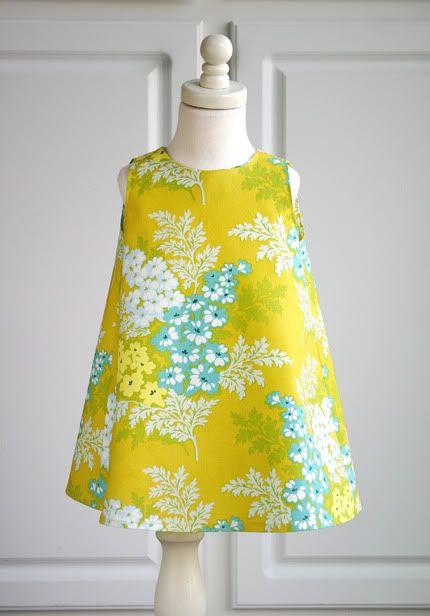
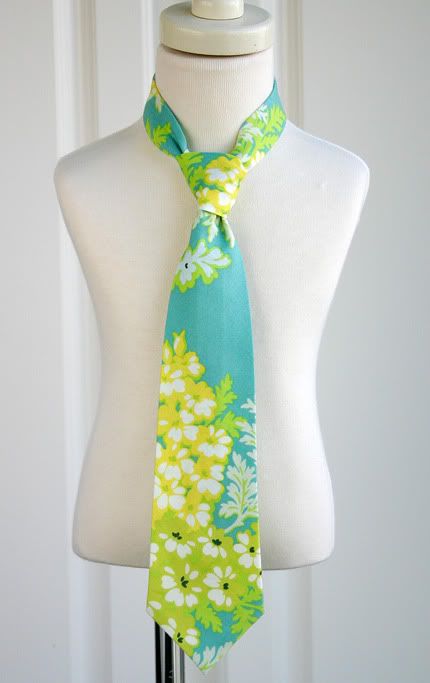
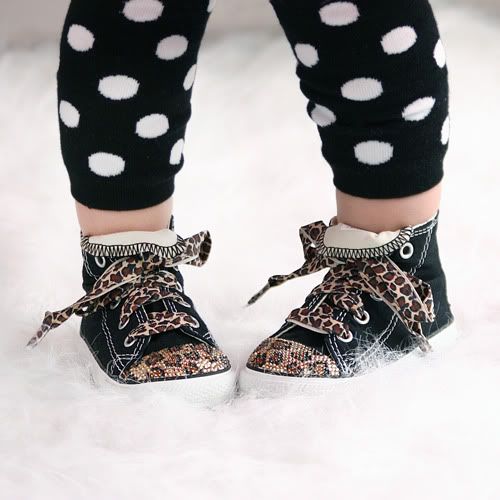
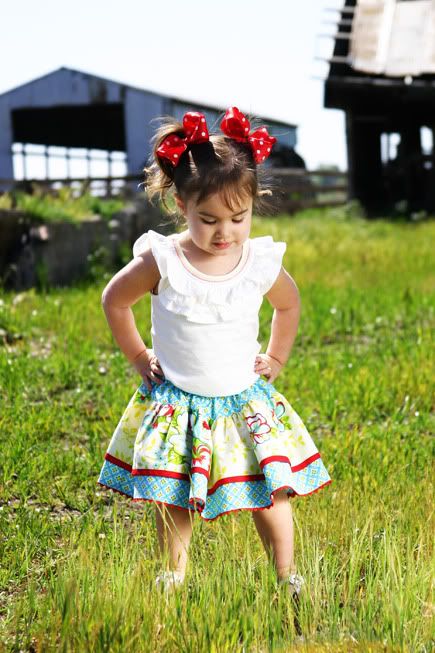
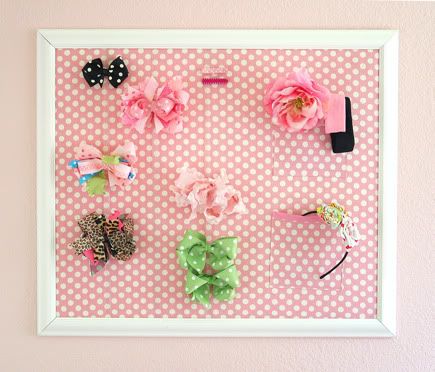
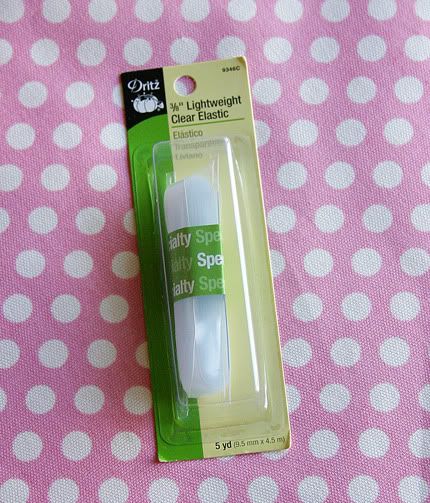
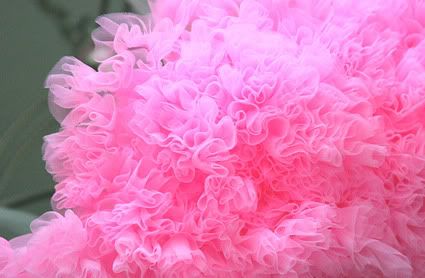
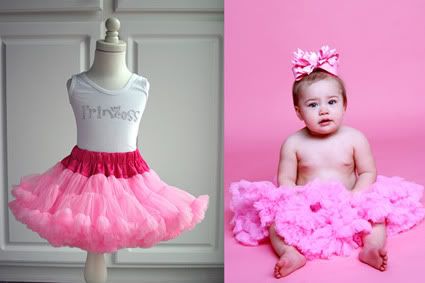
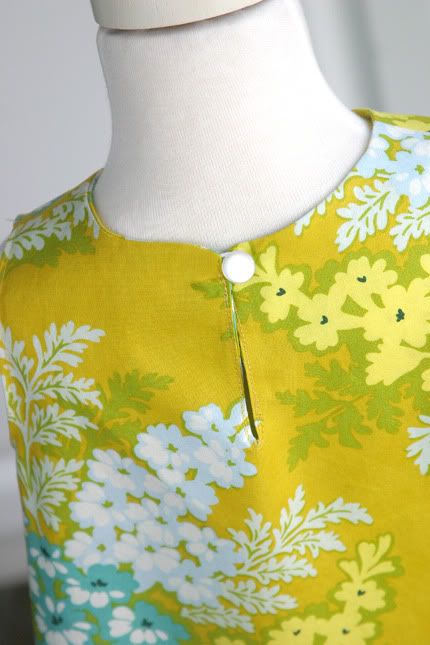 and these